The JSPrintManager Javascript Object
First Steps with JSPrintManager
❶ Be sure you've added the JSPrintManager JavaScript references to your website
❷ Basic Sample - Printing a JPG Image to Default Printer. (More Printer Types...)
Note
You can specify another file format like PNG, PDF, TXT, TIFF, etc if desired.
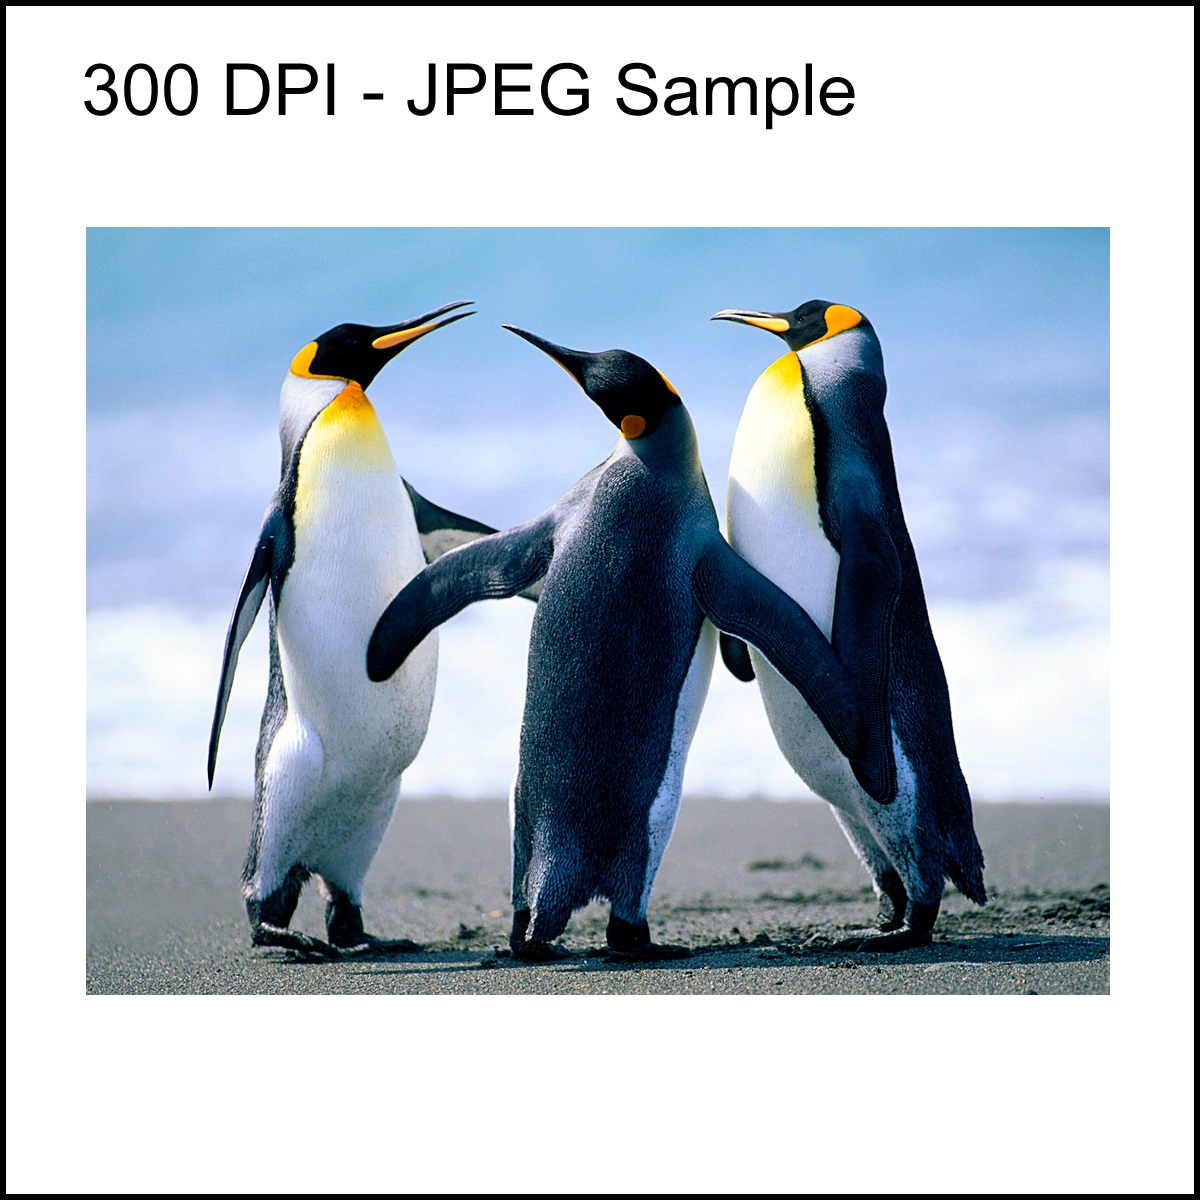
Download sample image from https://neodynamic.com/images/penguins300dpi.jpg
<script type="text/javascript">

    JSPM.JSPrintManager.auto_reconnect = true;
    JSPM.JSPrintManager.start();
    JSPM.JSPrintManager.WS.onStatusChanged = function () {
        if (JSPM.JSPrintManager.websocket_status == JSPM.WSStatus.Open) {
            var cpj = new JSPM.ClientPrintJob();
            cpj.clientPrinter = new JSPM.DefaultPrinter();
            var my_file = new JSPM.PrintFile('/images/penguins300dpi.jpg', JSPM.FileSourceType.URL, 'MyFile.jpg', 1);
            cpj.files.push(my_file);
            cpj.sendToClient();
        }
    };

</script>
❸ Basic Sample - Send RAW Printer Commands to Default Printer. (More Printer Types...)
Note
The raw printer commands you'll specify must be in the correct syntax required by the target printer!
Important
Plain Text is NOT the same as RAW Printer Commands! Read more...
<script type="text/javascript">

    JSPM.JSPrintManager.auto_reconnect = true;
    JSPM.JSPrintManager.start();
    JSPM.JSPrintManager.WS.onStatusChanged = function () {
        if (JSPM.JSPrintManager.websocket_status == JSPM.WSStatus.Open) {
            var cpj = new JSPM.ClientPrintJob();
            cpj.clientPrinter = new JSPM.DefaultPrinter();
            cpj.printerCommands = 'RAW PRINTER COMMANDS HERE';
            cpj.sendToClient();
        }
    };

</script>
Print Job Status/Trace
JSPrintManager allows you to get notified about any update on the ClientPrintJob you are sending to a given printer. The Print Job information retrieved will depend on the client OS and will be provided to you as a JSON Object.
The following sample is an extension of the Basic Sample - Printing a JPG Image to Default Printer sample shown above where the Print Job Status/Trace info is displayed in the browser console.
<script type="text/javascript">

    JSPM.JSPrintManager.auto_reconnect = true;
    JSPM.JSPrintManager.start();
    JSPM.JSPrintManager.WS.onStatusChanged = function () {
        if (JSPM.JSPrintManager.websocket_status == JSPM.WSStatus.Open) {
            var cpj = new JSPM.ClientPrintJob();
            cpj.clientPrinter = new JSPM.DefaultPrinter();
            var my_file = new JSPM.PrintFile('/images/penguins300dpi.jpg', JSPM.FileSourceType.URL, 'MyFile.jpg', 1);
            cpj.files.push(my_file);

            cpj.onUpdated = function(data) {
                console.info(data);
            };

            cpj.onFinished = function(data) {
                console.info(data);
            };

            cpj.sendToClient();
        }
    };

</script>
Get Installed Printers
JSPrintManager allows you to get the list of installed printers available at the client machine by using the getPrinters() function. By "installed printers" it means the printers that are listed and installed under Windows, Linux or Mac OS.
<script type="text/javascript">

    JSPM.JSPrintManager.auto_reconnect = true;
    JSPM.JSPrintManager.start();
    JSPM.JSPrintManager.WS.onStatusChanged = function () {
        if (JSPM.JSPrintManager.websocket_status == JSPM.WSStatus.Open) {
            JSPM.JSPrintManager.getPrinters().then(function (e) {
                console.log(e);
            });
        }
    };

</script>
Get Installed Printers including detailed information
JSPrintManager allows you to get the list of installed printers available at the client machine including detailed information like DPI Resolution, PortName, "Is Connected", "Is Shared", "Is Local", "Is Network", as well as the list of supported Papers and list of trays/bins by using the getPrintersInfo() function. By "installed printers" it means the printers that are listed and installed under Windows, Linux or Mac OS.
The getPrintersInfo() function will return a JSON object.
<script type="text/javascript">

    JSPM.JSPrintManager.auto_reconnect = true;
    JSPM.JSPrintManager.start();
    JSPM.JSPrintManager.WS.onStatusChanged = function () {
        if (JSPM.JSPrintManager.websocket_status == JSPM.WSStatus.Open) {
            JSPM.JSPrintManager.getPrintersInfo().then(function (printersList) {
                console.log(printersList);
            });
        }
    };

</script>
Printers Watcher (Windows Only)
JSPrintManager provides you a Printers Watcher allowing you to detect when a new printer is added, when a printer is removed/deleted, and when any changes or modifications are done on any printers available at the client machine. At the moment this feature is available in Windows clients only.
The Printers Watcher will notify you about any of these events as a JSON object. The following is a sample code that will display the events info in the browser console.
<script type="text/javascript">

    JSPM.JSPrintManager.auto_reconnect = true;
    JSPM.JSPrintManager.start();
    JSPM.JSPrintManager.WS.onStatusChanged = function () {
        if (JSPM.JSPrintManager.websocket_status == JSPM.WSStatus.Open) {
            JSPM.JSPrintManager.onPrinterCreated(
                data => {
                    console.info("PRINTER CREATED! >>> " + JSON.stringify(data));
                },
                err => {
                    console.error(err);
                }
            );

            JSPM.JSPrintManager.onPrinterUpdated(
                data => {
                    console.info("PRINTER UPDATED! >>> " + JSON.stringify(data));
                },
                err => {
                    console.error(err);
                }
            );

            JSPM.JSPrintManager.onPrinterDeleted(
                data => {
                    console.info("PRINTER DELETED! >>> " + JSON.stringify(data));
                },
                err => {
                    console.error(err);
                }
            );
        }
    };

</script>
Printing Common File Formats
In addition to print native commands, you can also use JSPrintManager solution to send and print common file formats like PDF, TIF, TXT, DOC, XLS, JPG, PNG, etc.
The Print File feature has the following requirements:
| File Format | Windows Clients | Linux & Mac Clients |
|---|---|---|
| DOC, DOCX | Microsoft Word is required | LibreOffice is required |
| XLS, XLSX | Microsoft Excel is required | LibreOffice is required |
| Natively supported! | Natively supported! | |
| TIF | Natively supported! | Natively supported! |
| TXT | Natively supported! | Natively supported! |
| JPEG | Natively supported! | Natively supported! |
| PNG | Natively supported! | Natively supported! |
| BMP | Natively supported! | Natively supported! |
| Printer Support | You can print files to local installed printers ONLY! Parallel, Serial and IP/Ethernet printers are NOT supported. | You can print files to any installed printers through CUPS system. |
The files you want to send to the client printer is specified through the printFiles property of the ClientPrintJob class. The printFiles property accepts an instance of the PrintFile type.
Printing Multiple Files to the same Printer
The following sample code will print two files to the Default printer. (More Printer Types...)
Note
Download sample files from https://neodynamic.com/temp/LoremIpsum.pdf and https://neodynamic.com/temp/LoremIpsum.txt
<script type="text/javascript">

    JSPM.JSPrintManager.auto_reconnect = true;
    JSPM.JSPrintManager.start();
    JSPM.JSPrintManager.WS.onStatusChanged = function () {
        if (JSPM.JSPrintManager.websocket_status == JSPM.WSStatus.Open) {
            var cpj = new JSPM.ClientPrintJob();
            cpj.clientPrinter = new JSPM.DefaultPrinter();
            var my_file1 = new JSPM.PrintFilePDF('/files/LoremIpsum.pdf', JSPM.FileSourceType.URL, 'MyFile.pdf', 1);
            var my_file2 = new JSPM.PrintFileTXT('/files/LoremIpsum.txt', 'MyFile.txt', 1, JSPM.FileSourceType.URL);
            cpj.files.push(my_file1);
            cpj.files.push(my_file2);
            cpj.sendToClient();
        }
    };

</script>
Printing Multiple Files to Different Printers
The following sample code will print files to the different printers by using ClientPrintJobGroup class
Note
Download sample files from https://neodynamic.com/temp/LoremIpsum.pdf and https://neodynamic.com/temp/LoremIpsum.txt
<script type="text/javascript">

    JSPM.JSPrintManager.auto_reconnect = true;
    JSPM.JSPrintManager.start();
    JSPM.JSPrintManager.WS.onStatusChanged = function () {
        if (JSPM.JSPrintManager.websocket_status == JSPM.WSStatus.Open) {
            var cpj1 = new JSPM.ClientPrintJob();
            cpj1.clientPrinter = new JSPM.DefaultPrinter();
            var my_file1 = new JSPM.PrintFilePDF('/files/LoremIpsum.pdf', JSPM.FileSourceType.URL, 'MyFile.pdf', 1);
            cpj1.files.push(my_file1);
            var cpj2 = new JSPM.ClientPrintJob();
            cpj2.clientPrinter = new JSPM.InstalledPrinter('Microsoft XPS Document Writer');
            var my_file2 = new JSPM.PrintFileTXT('/files/LoremIpsum.txt', 'MyFile.txt', 1, JSPM.FileSourceType.URL);
            cpj2.files.push(my_file2);
            var cpjg = new JSPM.ClientPrintJobGroup();
            cpjg.jobs.push(cpj1);
            cpjg.jobs.push(cpj2);
            cpjg.sendToClient();
        }
    };

</script>
Printer Commands (RAW Data Printing)
The printer commands you want to send to the client printer is specified through the printerCommands property of the ClientPrintJob object.
Some Printer Command/Programming Languages feature non-printable or non-human-readable characters in their syntax. Common samples are the ESC/P language which uses ASCII Dec 27 (ESC), ASCII Dec 10 (LF), ASCII Dec 13 (CR), etc; thermal printer languages like Zebra ZPL which sometimes needs to specify ASCII Dec 29 (GS), ASCII Dec 30 (RS), ASCII Dec 4 (EOT), etc.
These non-printable chars can be specified in Hexadecimal notation within the string commands.
For example, suppose you need to send ESC/P codes for "Set page length in inches" which syntax is as follows: [ESC] C [NUL] n
Where:
- [ESC]: is ASCII Hex 1B
- C: is ASCII Hex 43
- [NUL]: is ASCII 00
- n: is a number in the range 1 < n < 22
Then to specify this command as a string and using the Hexadecimal notation:
//set the commands to send to the printer
cpj.PrinterCommands = "\x1B C \x00 5";
Mixing RAW Commands & Files
The following sample code will send RAW commands and print files to the different printers by using ClientPrintJobGroup class
Note
Download sample file from https://neodynamic.com/temp/LoremIpsum.pdf
<script type="text/javascript">

    JSPM.JSPrintManager.auto_reconnect = true;
    JSPM.JSPrintManager.start();
    JSPM.JSPrintManager.WS.onStatusChanged = function () {
        if (JSPM.JSPrintManager.websocket_status == JSPM.WSStatus.Open) {
            var cpj1 = new JSPM.ClientPrintJob();
            cpj1.clientPrinter = new JSPM.DefaultPrinter();
            cpj1.printerCommands = 'RAW PRINTER COMMANDS HERE';
            var cpj2 = new JSPM.ClientPrintJob();
            cpj2.clientPrinter = new JSPM.InstalledPrinter('Microsoft XPS Document Writer');
            var my_file2 = new JSPM.PrintFilePDF('/files/LoremIpsum.pdf', JSPM.FileSourceType.URL, 'MyFile.pdf', 1);
            cpj2.files.push(my_file2);
            var cpjg = new JSPM.ClientPrintJobGroup();
            cpjg.jobs.push(cpj1);
            cpjg.jobs.push(cpj2);
            cpjg.sendToClient();
        }
    };

</script>
Client Printer Types
The Client Printer is specified through the clientPrinter property and it accepts an object that should be an instance of any of the following ClientPrint-derived classes:
- DefaultPrinter
- UserSelectedPrinter
- InstalledPrinter
- ParallelPortPrinter
- SerialPortPrinter
- NetworkPrinter
Read on to see how to create ClientPrintJob for each of the supported client printer types.
DefaultPrinter
The DefaultPrinter allows you to print to the client's printer which is set up as the "default printer". The printing is performed without displaying any dialog to the user. Here is a snippet code of how to use this option:
<script type="text/javascript">

    JSPM.JSPrintManager.auto_reconnect = true;
    JSPM.JSPrintManager.start();
    JSPM.JSPrintManager.WS.onStatusChanged = function () {
        if (JSPM.JSPrintManager.websocket_status == JSPM.WSStatus.Open) {
            var cpj = new JSPM.ClientPrintJob();
            cpj.clientPrinter = new JSPM.DefaultPrinter();
            // ...
            cpj.sendToClient();
        }
    };

</script>
UserSelectedPrinter
The UserSelectedPrinter allows you to let the user to dynamically select which printer he/she wants to use by displaying a Print Dialog box. That print dialog will list all the installed printers in the user's machine. Here is a snippet code of how to use this option:
<script type="text/javascript">

    JSPM.JSPrintManager.auto_reconnect = true;
    JSPM.JSPrintManager.start();
    JSPM.JSPrintManager.WS.onStatusChanged = function () {
        if (JSPM.JSPrintManager.websocket_status == JSPM.WSStatus.Open) {
            var cpj = new JSPM.ClientPrintJob();
            cpj.clientPrinter = new JSPM.UserSelectedPrinter();
            // ...
            cpj.sendToClient();
        }
    };

</script>
InstalledPrinter
The InstalledPrinter allows you to specify the "Printer Name" of an installed printer at the client machine. By "installed" it means, a printer which is listed in the Printers section of Windows, Linux or Mac OS. Those printers are generally installed by using a driver provided by the manufacturer.
Note
For Raw printing, installing the "Generic / Text Only" driver that comes with Windows OS (and similar driver on Linux & Mac OS) is sufficient in many cases. The "Generic / Text Only" driver is also useful when you cannot get the original driver from the manufacturer because it does not support a given version of Windows or the printer is too old, etc.
Note
You can also specify the Tray Name (trayName prop) as well as the Paper Name (paperName prop) to be used by the specified printer when printing the following file formats: PNG, JPG, BMP, TXT, TIF & PDF
So, suppose the user has a printer installed which name is "MyLocalPrinter". Here is a snippet code of how to use this option:
<script type="text/javascript">

    JSPM.JSPrintManager.auto_reconnect = true;
    JSPM.JSPrintManager.start();
    JSPM.JSPrintManager.WS.onStatusChanged = function () {
        if (JSPM.JSPrintManager.websocket_status == JSPM.WSStatus.Open) {
            var cpj = new JSPM.ClientPrintJob();
            cpj.clientPrinter = new JSPM.InstalledPrinter('MyLocalPrinter');
            // ...
            cpj.sendToClient();
        }
    };

</script>
Special case for Shared Network printers: When the user has an installed printer which is a Shared Network Printer (i.e. a printer attached to another computer on the network), then you can use the InstalledPrinter option to specify such kind of printer. The correct way to specify the printer's name in these cases is by using the UNC (Universal Naming Convention) name/path to reach the printer.
So, suppose the user has a network printer installed which UNC path is "\anotherPC\CoolBrandPrinter". Here is a snippet code of how to use this option:
<script type="text/javascript">

    JSPM.JSPrintManager.auto_reconnect = true;
    JSPM.JSPrintManager.start();
    JSPM.JSPrintManager.WS.onStatusChanged = function () {
        if (JSPM.JSPrintManager.websocket_status == JSPM.WSStatus.Open) {
            var cpj = new JSPM.ClientPrintJob();
            cpj.clientPrinter = new JSPM.InstalledPrinter('\\\\anotherPC\\CoolBrandPrinter');
            // ...
            cpj.sendToClient();
        }
    };

</script>
ParallelPortPrinter
The ParallelPortPrinter allows you to specify the parallel port (LPT) of the client machine that the printer is connected to. The client does not need to install the printer through Windows OS. However, a valid LPT port needs to be available and the printer connected to such port through a Centronics interface.
Note
For Linux & Mac OS, Parallel Port printers must be installed through CUPS and then set the assigned printer name through the InstalledPrinter option.
Here is a snippet code of how to use this option:
<script type="text/javascript">

    JSPM.JSPrintManager.auto_reconnect = true;
    JSPM.JSPrintManager.start();
    JSPM.JSPrintManager.WS.onStatusChanged = function () {
        if (JSPM.JSPrintManager.websocket_status == JSPM.WSStatus.Open) {
            var cpj = new JSPM.ClientPrintJob();
            cpj.clientPrinter = new JSPM.ParallelPortPrinter('LPT1');
            // ...
            cpj.sendToClient();
        }
    };

</script>
SerialPortPrinter
The SerialPortPrinter allows you to specify the serial port (RS-232) settings of the client printer. The client does not need to install the printer through Windows OS. However, a valid serial port needs to be available and the printer connected to such port. Please refer to the client's printer manual for details about the serial port settings.
Note
For Linux & Mac OS, Serial RS232 Port printers must be installed through CUPS and then set the assigned printer name through the InstalledPrinter option.
Here is a snippet code of how to use this option:
<script type="text/javascript">

    JSPM.JSPrintManager.auto_reconnect = true;
    JSPM.JSPrintManager.start();
    JSPM.JSPrintManager.WS.onStatusChanged = function () {
        if (JSPM.JSPrintManager.websocket_status == JSPM.WSStatus.Open) {
            var cpj = new JSPM.ClientPrintJob();
            cpj.clientPrinter = new JSPM.SerialPortPrinter('COM1', 9600, JSPM.SerialPort.Parity.None, JSPM.SerialPort.StopBits.One, JSPM.Serial.DataBits.Eight, JSPM.SerialPort.Handshake.XOnXOff);
            // ...
            cpj.sendToClient();
        }
    };

</script>
NetworkPrinter
The NetworkPrinter allows you to specify a TCP/IP Ethernet-enabled printer that can be reached from the client machine. The client printer in this case can be specified by using the IP address or DNS name as well as the port number.
Note
For Linux & Mac OS, IP/Ethernet printers should be installed through CUPS and then set the assigned printer name through the InstalledPrinter option.
Here is a snippet code of how to use this option:
<script type="text/javascript">

    JSPM.JSPrintManager.auto_reconnect = true;
    JSPM.JSPrintManager.start();
    JSPM.JSPrintManager.WS.onStatusChanged = function () {
        if (JSPM.JSPrintManager.websocket_status == JSPM.WSStatus.Open) {
            var cpj = new JSPM.ClientPrintJob();
            cpj.clientPrinter = new JSPM.NetworkPrinter(9100, "10.0.0.8");
            // ...
            cpj.sendToClient();
        }
    };

</script>
Scanning Documents & Images
JSPrintManager enables any web page to scan documents and images through any TWAIN/SANE compatible devices available at the client side. JSPrintManager allows you to list the installed scanners available at the client machine and specify scan settings like the resolution and output quality (dpi), the desired pixel mode (Grayscale or full Color), Duplex, ADF, as well as the output image format (JPG/JPEG or PNG). A complete article including source code is available at How to Scan Documents & Images from Javascript
BIDI Serial Communication
JSPrintManager supports Bidirectional (BIDI) Serial Port Communication from Javascript allowing you to Send/Write & Receive/Read data strings to any RS-232, COM & TTY port available on the client system. A complete article including source code is available at How to send/write and receive/read (BIDI) Serial Port Data from Javascript
Detecting JSPM Client App
The JSPM Client App utility (that each user must have it installed) is a key component of the JSPrintManager solution. So, it is very important you can detect somehow whether JSPM is already installed and running at the client machine from your Website. By using JSPM.JSPrintManager.websocket_status property you can know whether JSPM Client App is available in the client machine.
<script type="text/javascript">

    JSPM.JSPrintManager.auto_reconnect = true;
    JSPM.JSPrintManager.start();
    JSPM.JSPrintManager.WS.onStatusChanged = function () {
        if (JSPM.JSPrintManager.websocket_status == JSPM.WSStatus.Open)
            console.log('JSPM is running');
        else if (JSPM.JSPrintManager.websocket_status == JSPM.WSStatus.Closed)
            console.log('JSPM is not installed or not running!');
        else if (JSPM.JSPrintManager.websocket_status == JSPM.WSStatus.Blocked)
            console.log('JSPM has blocked this website!');
    };

</script>
To detect when the JSPM websocket opens, closes or when its status changes, then you can code the onOpen(), onClose() and onStatusChanged() events respectively
<script type="text/javascript">

    JSPM.JSPrintManager.auto_reconnect = true;
    JSPM.JSPrintManager.start();

    JSPM.JSPrintManager.WS.onOpen = function () {
        console.log('JSPM WS Open');
    }

    JSPM.JSPrintManager.WS.onClose = function () {
        console.log('JSPM WS Close');
    }

    JSPM.JSPrintManager.WS.onStatusChanged = function () {
        if (JSPM.JSPrintManager.websocket_status == JSPM.WSStatus.Open)
            console.log('JSPM is running');
        else if (JSPM.JSPrintManager.websocket_status == JSPM.WSStatus.Closed)
            console.log('JSPM is not installed or not running!');
        else if (JSPM.JSPrintManager.websocket_status == JSPM.WSStatus.Blocked)
            console.log('JSPM has blocked this website!');
    };

</script>
JavaScript API Reference
Browse the JSPrintManager API Reference documentation
Articles & Code Samples
Browse the JSPrintManager Articles & Code Samples for other printing & scanning topics including advanced topics like printing password-protected docs and more!
Sample Project & Online Demo
- Try the JSPrintManager Solution through our Online Demo
- Look at the source code of the JSPrintManager Sample Website at github